Can You Really Paint Patio Pavers?
You absolutely can, and plenty of homeowners do. The key is understanding how to paint them so the finish lasts. Regular paint won’t cut it; you need high-quality acrylic latex or masonry paint made specifically for concrete and outdoor surfaces.
These paints are designed to handle foot traffic, moisture, and temperature swings. For extra protection, pick a UV-resistant formula so your color doesn’t fade in the sun.
And here’s a pro move: add a non-slip additive to your paint or sealer. Painted surfaces can get slick when wet, especially around pools or shaded patios.
Before you even think about color, though, make sure your pavers are properly installed and level. Any loose, cracked, or uneven stones will ruin your finish. If you’re unsure about the installation quality, call in the experts at GL Scapes Inc. we’ll make sure your foundation is solid before you start painting.
Step-by-Step: How to Paint Patio Pavers Like a Pro
Painting patio pavers isn’t complicated, but it does require patience. Here’s the process professional landscapers and painters follow to get long-lasting results.
1. Gather Your Supplies
You’ll need:
- Pressure washer or garden hose with a nozzle
- Outdoor-grade primer
- Masonry or acrylic latex paint
- Rollers and angled brushes
- Paver crack filler or patch compound
- Non-slip additive
- Clear sealer
Having everything ready means you can move quickly once the surface is dry.
2. Deep Clean the Surface
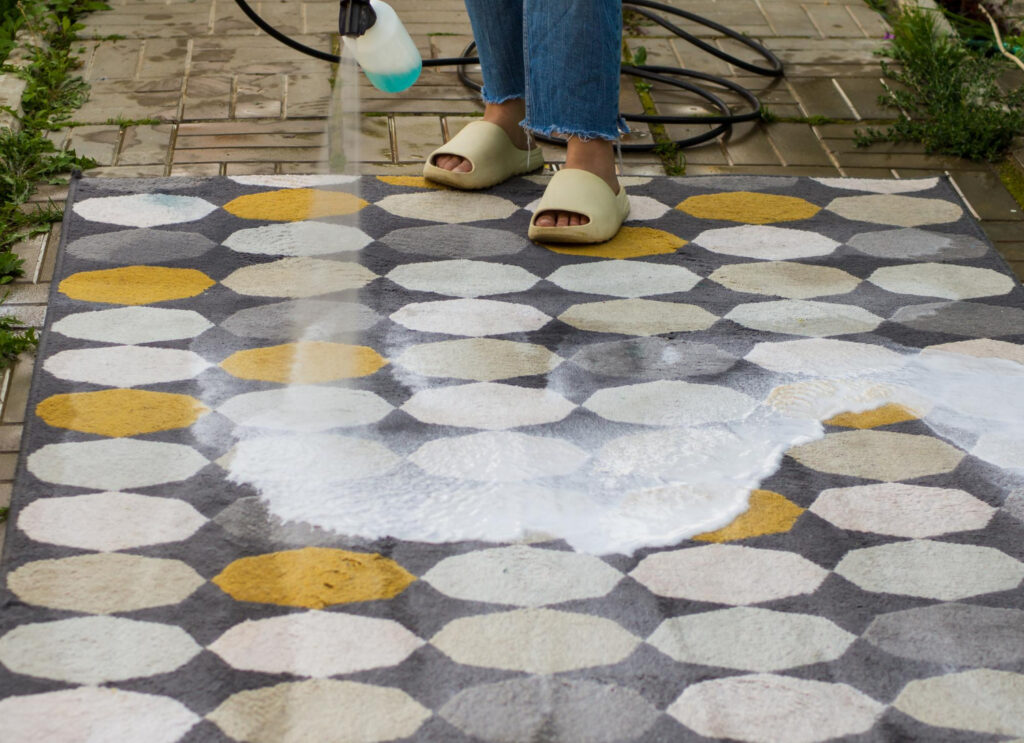
Dirt and grime prevent paint from sticking. Power-wash your pavers or use a stiff brush and mild detergent. Pay extra attention to any oily or moldy areas.
Let the patio dry completely moisture trapped underneath paint is the fastest way to cause peeling later.
3. Repair Imperfections
Inspect for cracks, chips, or missing joint sand. Fill gaps with paver filler or concrete patch and smooth them out. Once repaired, wait for everything to dry before moving on.
4. Apply a Quality Primer
Primer creates a barrier that helps paint bond to the surface. Apply an even coat using a roller or sprayer. Don’t rush the drying time, check the manufacturer’s label and follow it exactly.
5. Start Painting
Now comes the fun part. Work in small sections, starting at one edge and moving across. Use two light coats instead of one heavy coat; this prevents drips and gives a more durable finish.
Keep your strokes consistent and don’t paint under direct sunlight; it can cause premature drying and uneven color.
6. Add a Sealer
Once the paint is fully dry, protect your work with a clear masonry sealer. This locks in color, adds weather resistance, and makes cleaning easier. If you’re worried about slipperiness, mix in your non-slip additive here.
7. Let It Cure
Avoid foot traffic for at least 48 hours. If you can, give it a few extra days before replacing furniture or planters. The longer the paint cures, the stronger it becomes.

The Pros and Cons of Painting Patio Pavers
Like most quick upgrades, painting patio pavers has both perks and trade-offs. Understanding these will help you decide if it’s the right move for your space.
Why It’s Worth Trying
- Affordable facelift – Repainting is far cheaper than replacing your entire patio.
- Custom color options – Match your home’s trim, go for sleek neutrals, or experiment with bold tones.
- Instant transformation – In a single weekend, your backyard can look brand-new.
- Added protection – Proper sealing shields pavers from UV rays, rain, and dirt buildup.
- Hides imperfections – Paint covers stains and minor cracks, creating a cleaner overall look.
What to Watch Out For
- Maintenance required – Expect to re-seal every year or two, especially in high-traffic zones.
- Potential fading – Even premium paint will gradually lighten under strong sunlight.
- Slippery surface – Always use anti-slip measures near water features.
- Moisture risk – If paint traps moisture underneath, it can weaken the paver material over time.
If you’re after a “paint once and forget it” solution, consider paver staining or full resurfacing services GL Scapes Inc. offers throughout the region.
Tips to Keep Your Painted Pavers Looking Fresh
You’ve done the work now to protect it. These upkeep habits will keep your patio vibrant for years:
- Sweep regularly. Dirt and leaves can wear down paint faster than you think.
- Clean with mild soap and water. Skip bleach or acid-based cleaners; they’ll strip your sealer.
- Avoid dragging heavy furniture. Lift items instead of scraping them across the surface.
- Re-seal annually. A fresh sealer coat every 12 months prevents moisture damage.
- Spot-repair early. If you notice chips or fading, touch them up before they spread.
Little bits of maintenance now will save you from full repaints later.
Color Ideas and Design Inspiration
If you’re torn between shades, here’s a quick guide:
- Warm neutrals (sand, taupe, terracotta): Blend beautifully with natural landscapes and stone accents.
- Cool grays or charcoals: Create a clean, modern aesthetic that complements outdoor furniture.
- Bold tones (navy, sage, or brick red): Use sparingly for statement zones like firepit areas.
- Two-tone patterns: Alternate colors for visual contrast or create geometric borders.
Pro tip: test a small area first. Colors look different under sunlight versus shade.

Common Questions About Painting Patio Pavers
How long does painted patio pavers last?
With the right prep and quality materials, painting patio pavers can last five to eight years. Longevity depends on weather conditions, foot traffic, and how often you reseal.
Should I choose light or dark paint colors?
Light colors reflect heat and make your space look bigger. Darker shades add contrast but can feel hotter underfoot, great for shaded patios, not so ideal for full-sun decks.
Can I clean my pavers with bleach before painting?
It’s possible, but risky. Bleach can weaken the surface if used undiluted. A gentle detergent or specialized concrete cleaner is a safer bet.
What if I change my mind later?
You can remove the paint using a concrete paint remover or pressure washer, but it’s a messy job. That’s why choosing a timeless color up front matters.
Why Work With a Professional?
While painting patio pavers can be a DIY-friendly task, achieving a long-lasting finish is all about preparation, the kind of meticulous prep work professionals live for.
At GL Scapes Inc., the team handles everything from power-washing and surface repairs to precise paint application and sealing. They also advise whether painting or staining will serve your patio better in the long run.
You get a clean, durable finish that holds up to weather and wear without spending your weekends scrubbing grout lines or touching up flakes.
Conclusion
If your patio feels outdated but you’re not ready for a full renovation, painting patio pavers is a smart middle ground. It’s affordable, customizable, and instantly upgrades your outdoor area.
Just remember: the success of this project comes down to prep and protection. Clean well, use the right materials, and don’t skip sealing. Or, let the specialists at GL Scapes Inc. handle it from start to finish for a result that looks sharp and lasts for years.
Ready to bring your patio back to life?
Visit GLScapesInc.com to schedule a free consultation and explore your outdoor transformation options today.